In warm, humid regions like the Gulf Coast, a vented crawl space can pull muggy air under the house all summer. That moisture condenses on cool surfaces, feeds mold on joists, rusts duct hangers, and leaves floors cupped and musty. Insulation helps only when moisture and air movement are under control. The most reliable projects follow a clear sequence: stop bulk water, block ground vapor, air seal, decide where the thermal boundary belongs, and only then add insulation and conditioning. This article outlines that sequence, materials that tolerate humidity, and the mistakes that undo good work.
Find Where Moisture Enters Before You Add R-value
For homeowners comparing Houston crawlspace insulation, the winning projects start with water management. Look outside first: gutters should discharge well away from the foundation, soil should slope away, and any low spots that collect rainwater should be fixed. Inside, note standing water after storms, soil that feels damp days later, efflorescence on concrete, or dark lines where fiberglass batts have trapped dust. A simple hygrometer helps you track relative humidity; under 60 percent is a common target once work is complete.
Air is a delivery system for water. In summer, outdoor air entering through foundation vents hits a cooled subfloor and rim joists, then drops moisture as condensation. In older pier-and-beam homes, leaky rim joists and an unsealed crawl door are typical pathways. Before planning insulation, list every vent, gap around plumbing, and duct penetration you can see. If the crawl floods or stays wet after rain, solve drainage first or nothing else will last.
Place the Thermal Boundary: Walls or Floor
You have two basic approaches. One is to keep the crawl space vented and insulate the underside of the floor. The other is to convert the crawl space to part of the home’s conditioned envelope by sealing vents, installing a ground vapor barrier, and insulating the interior of the foundation walls. In humid climates, wall insulation with encapsulation is often the more durable option because it keeps ducts and plumbing, if present, on the warm side of insulation and reduces summertime condensation risk.
There are constraints. In flood-prone areas, you may need to preserve flood openings and select materials that tolerate periodic wetting. Where termites are a concern, many jurisdictions require a visible inspection gap at the top of the wall insulation. If a gas furnace or water heater is in the crawl, you must plan for proper combustion air. For a 1960s bungalow with sweating ducts and soft subfloor spots, wall insulation plus encapsulation usually beats stuffing more batts under the joists. For a seldom-used cabin with no ducts below, insulating the floor can be acceptable, but it still pays to address ground vapor and major air leaks.
Choose Materials That Tolerate Humidity
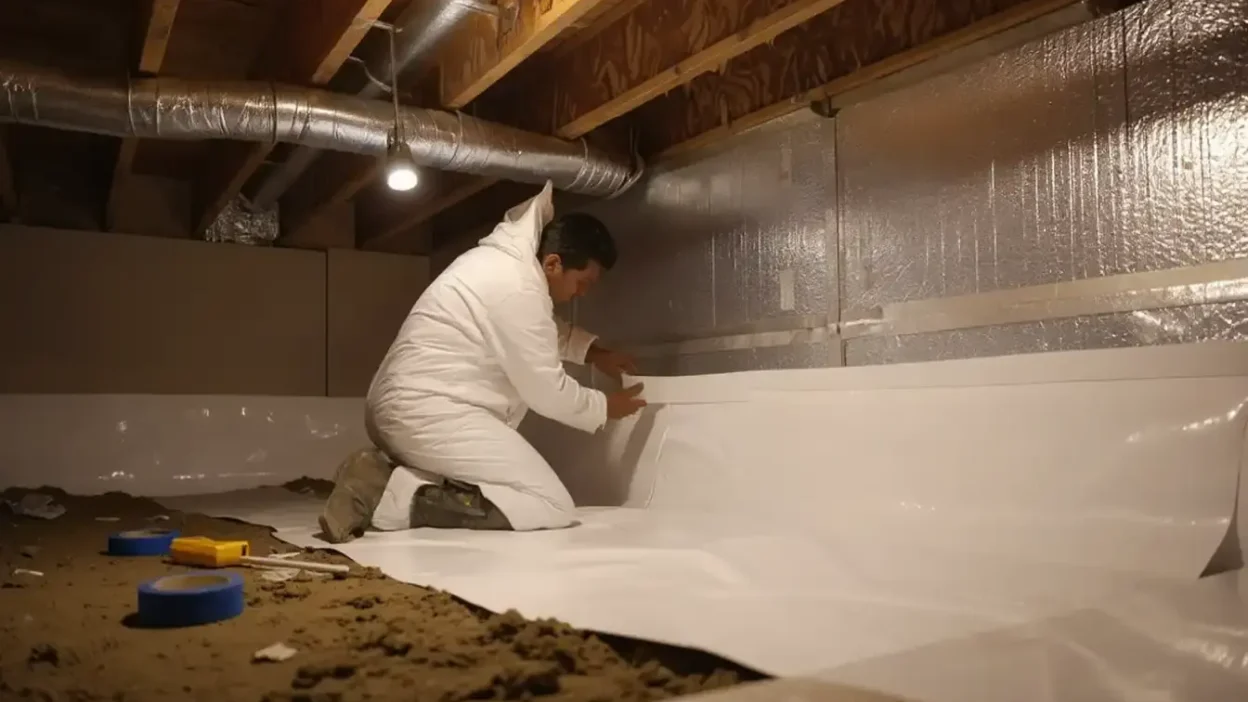
Start on the ground. A reinforced polyethylene vapor barrier, often 10 to 20 mil thick for durability in high-traffic areas, should cover the soil, lap up foundation walls, and be sealed at seams with compatible tape. Mechanically protect it at piers and around access points, and avoid punctures from sharp gravel. Thinner 6 mil poly can work in low-traffic zones but tears easily when you crawl or service equipment.
For wall insulation, closed-cell spray polyurethane foam offers insulation and excellent vapor resistance in one step when applied to interior foundation walls and rim joists. As an alternative, rigid foam boards such as polyisocyanurate or XPS can be fastened to walls with sealed seams and edges. Leave a code-compliant termite inspection gap where required. If you must insulate a vented floor, mineral wool batts outperform fiberglass when occasional dampness occurs, but both will disappoint if air leaks persist. Avoid kraft-faced batts against the subfloor in humid climates; the facer can trap moisture against wood.
Seal Leaks and Condition the Encapsulated Space
Encapsulation means closing and sealing foundation vents, weatherstripping the crawl door, and air sealing rim joists with foam and caulk. Penetrations for plumbing, wiring, and ducts need bead-and-tape attention so humid outdoor air has no easy path in. Once sealed, the crawl usually needs conditioning to control humidity. Two common choices are a dedicated crawl space dehumidifier with a hard-piped condensate drain to a sump or exterior, or a small supply of conditioned air from the HVAC system with an engineered return path.
Each method has trade-offs. A dehumidifier adds a modest electrical load but gives direct humidity control even if the HVAC rarely runs. Supplying a trickle of HVAC air can be efficient when equipment is nearby, yet it depends on run time and duct tightness. For a townhome with ducts and a return plenum in the crawl, sealing leaks, insulating walls, and adding a dehumidifier often stops summer sweating on ducts and registers. Whatever you choose, do not block required flood openings in mapped flood zones, and do not starve combustion appliances of air. Sealed-combustion or power-vented upgrades can be worth considering when encapsulating.
Aftercare: Targets, Checks, and Common Failure Points
Once work is complete, verify performance. A remote hygrometer lets you confirm the crawl stays roughly 50 to 60 percent RH through summer. Check that the vapor barrier seam tape remains bonded, the wall-to-liner seal is intact, and no new tears appear around service points. Clean the dehumidifier filter as recommended by the manufacturer, and ensure the condensate line drains freely to a sump or outdoors without pooling. After heavy storms, peek inside to confirm no new water paths have opened. If you live in termite country, keep the inspection gap clear and schedule routine inspections.
Common mistakes have predictable consequences. Sealing vents but skipping the ground vapor barrier leaves moisture streaming off the soil. Adding fiberglass under the floor after encapsulation can hide leaks and trap condensation against the subfloor. Spraying foam to the walls all the way up to the sill in termite areas can void warranties or slow inspections. Setting a dehumidifier to an excessively low target wastes energy and can overdry wood. The reliable path is simple but disciplined: control water at the exterior, stop vapor at the ground, air seal every hole, insulate in a way that places ducts and pipes on the warm side when possible, and provide measured conditioning and routine checks. Done in that order, a troublesome crawl space becomes quiet, dry, and pleasantly forgettable.
Also READ-How to Read Water Heater Warning Signs in Broken Arrow Homes